| Basics |
The user interface:
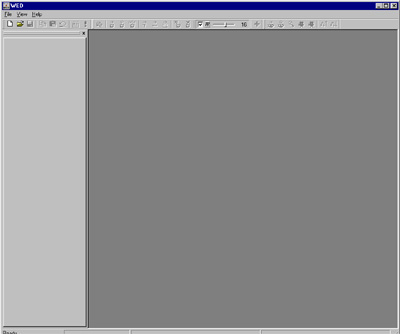
| When opening the level editor the first time, you see initially this grey and not very impressive window. To change this, you better open the attached tutorial level OFFICE.WMP out of the WORK folder: | |
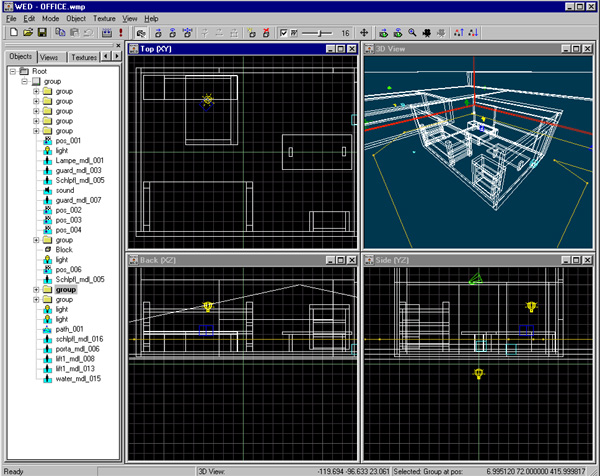
This is your working environment for creating a game with 3D GameStudio. Creating a 3D game means basically placing objects into a 3D environment, and attaching properties or behaviours to them that you either program yourself, or pick from a list of pre-fabricated behaviours.
The first thing that a new user will notice is the four 2D and 3D windows. They each represent a view from a different angle into the game level. You can scroll a window by right clicking into it and dragging, and zoom with the mouse wheel.
The 3D view provides a raw preview of how the level will look in the game. Under View you can switch the 3D view between wireframe, solid, and textured mode. In Preferences you can choose between a software renderer and a DirectX 8.0 renderer for the 3D view. The latter one also displays the colour of light sources, and gives a quite realistic view of the level, however not in the same quality as the final game. Within the windows, the white wire objects are the blocks, the yellow bulb-like things are the light sources, the things looking like a megaphone are the sound sources, the blue wireframe objects are the entities (you'll learn about them later), the green cameras are positions, and the yellow lines are paths.
At the upper edge you find the button bars, at the bottom the status line and on the left there ist the project window. This can be arranged any way you like and contains the Objects, Views, Textures and Resources.
Button bar

The button bar just collects the mostly used functions from the menus and makes them available on mouse click. Most of these buttons are self explanatory, particularly to windows users. By View/Toolbars the three different bars File, Edit and View can be swiched on and of. In addition every single bar can be placed anywhere at the edges of the window. With the default bar, shown above, from left to right the following functions are available on clickeing the button:New, Open, Save, Copy, Paste, Undo, Build, Run, Select, Move, Rotate, Scale, Vertex Move, Edge Move, Face Move, Add Object, Delete Object, Snap on/of, Snap Mode, Snap Size, Axis Restriction, Eye Move, Eye Rotate, Eye Zoom, Camera Move, Camera Walkthru, Scope Up, Scope Down.
|
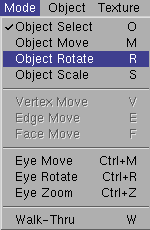
Modes Move Mode is used to move a selected object. Just left click and drag. Check in all of the views that the moved object is in the correct place. You can alternatively move the object with the cursor keys. Rotate Mode is used to rotate selected blocks or groups. Rotate it by left clicking and dragging to the left or right. In each window you can only rotate an object in one plain. You can alternatively rotate the object with the cursor keys. Scale Mode is used to resize, or scale, a selected block or group. Click and drag. By dragging upwards the block will become longer, and by dragging to the left it will become wider. When holding the [Ctrl] key while scaling, it is scaled vertically and horizontally by the same amount. The block will be expanded or shrinked symetrically, so you may have to move the block after resizing it. |
|
Object
This gives
you the option to insert a primitive block
(in a variety of shapes), a prefabricated
3D map object from a file, or to insert light or sound sources, camera positions,
terrain, 3D models, 2D sprites, and actor paths. Play with inserting primitives
and prefabs!
Project
Window
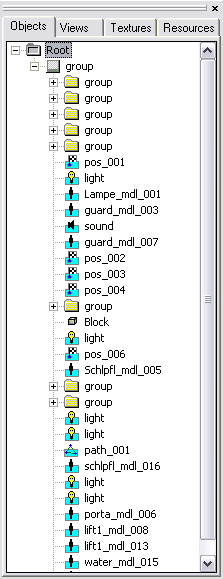
In
the image below you can see the project window with it's options Objects,
Views, Textures
and Resources.
 |
Views: Through right clicking on "Views List" individual window positions can be selected, saved or loaded.
By double clicking a texture in a WAD it will be attached to the object selected at this time. Clicking right at a texture in a WAD a pop up menu shows up and it can be removed from WAD or renamed, also it's settings can be changed. Through that menu you can also insert new textures in the WAD of the formats PCX, BMP or TGA, you can set bookmarks, save the WAD or open the texture manager. The Object window shows the texture of the actual selected object. In the Texture window you allways see the texture and it's name which is actual touched by the mouse within a WAD. If you close the WAD file(s) or move the mouse out of the project window, the last assigned texture stays visible in this window. The window can be changed in size by draging it at the lower edge.
|