Installing Textpad in Windows
- Go to https://www.textpad.com and click "download".

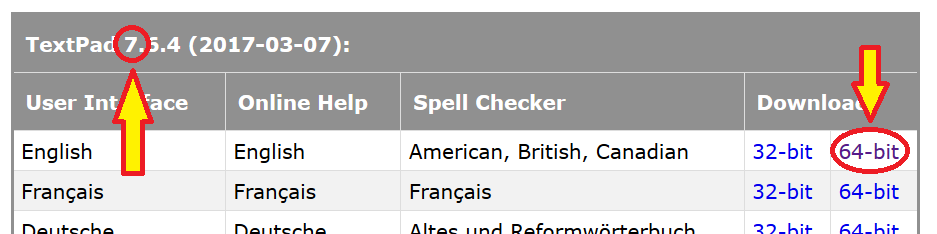
- Find the Textpad 7 Downloads (the NMU site license is for version 7. Not for 8 or 9.) and select the English version.
- Choose to save the install file to the desktop (you can delete it in step 5).
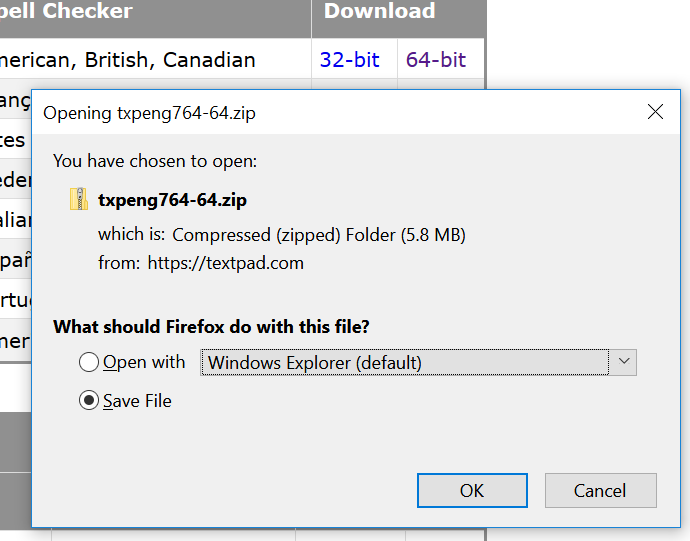
- Run the installer (it may be inside a .zip file, depending on the version) and go with all the defaults. Windows may warn about making changes to this computer. Say yes.
- Once the install has finished, you can delete the install file.
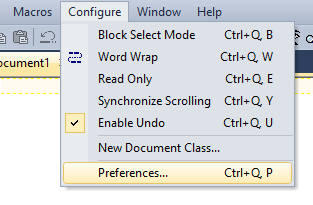
- Run Textpad. Once the program opens, select "Preferences" from the "Configure" menu.
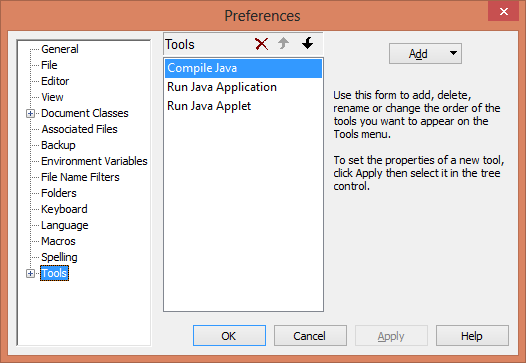
- Click on the word "Tools". The options "Compile Java", "Run Java Application", and "Run Java Applet" should appear; if so, good. If not, then select the "Add" button and click "Java SDK Commands", then "Apply" and "OK". (What if I neither of these appeared for me?)
- Now you have a nice text editor to write your Java programs with. Next you will use it to write your first program.